1. Cutting
Always cut a fresh straight edge to measure from when you start cutting strips of fabric, and make sure your ruler is lined up straight with the folded edge of the fabric, so that you don’t get a “V” at the fold.
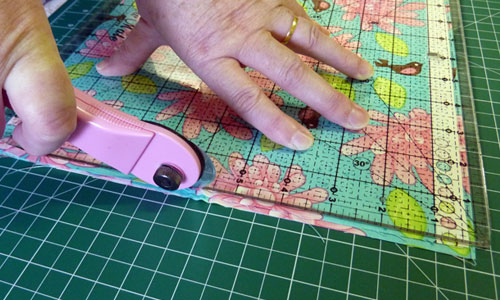
Check after cutting a few strips that you are still cutting strips at exact right angles to the fold because it is easy to get a few millimeters out of alignment. Cutting accurately will make your piecing much easier later.
2. Ironing
When you have machine stitched a seam, always iron your seam flat first before pressing the seam allowance to one side, this stretches out the seam and sets the stitches in place which will prevent puckering. Then iron your seams to one side.
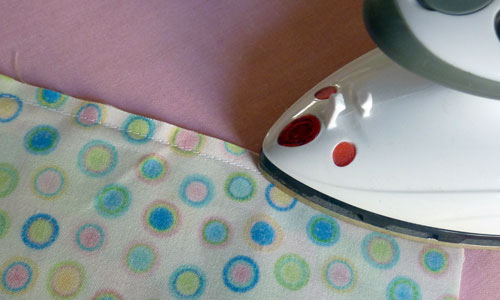
In patchworking, seams are always pressed to one side (not open) unless the instructions say otherwise. This puts less pressure on your thread once the seams are stitched over during the quilting process.
3. Sewing
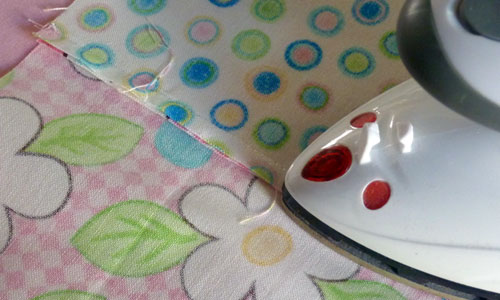
When matching up seams, try to make sure that the seams are ironed in opposite directions. This will allow the seam allowances to “nest” into each other and the seam lines will match perfectly.
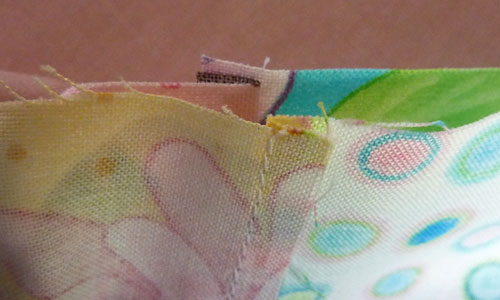
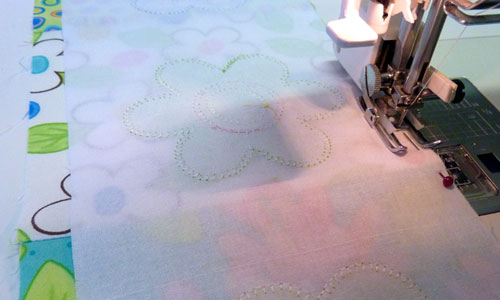
When sewing a border to a pieced block or strip, sew with the border on the top, this way you can sew the seam exactly ¼” from the edge of the straight piece, and any slight unevenness on the edge of the pieced strip will not matter.
You will have a lovely straight seam.
4. Quilting
If you are machine quilting straight lines, always use a walking foot. This draws the top fabric through the machine at the same rate as the bottom fabric so there is no warping or wrinkling of the fabric.
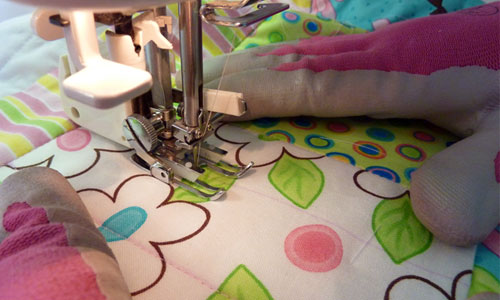
Always start quilting from the center of the quilt and work towards the outside, because as the quilt gets quilted it gets drawn in slightly and you will have more flexibility when you get to the edge of the quilt.
You don’t want to be left with awkward little areas to quilt that are puffy because they are surrounded by other quilted areas. You can use a slightly larger stitch length when quilting to accommodate the batting and backing fabric (it’s easier to unpick if you have to as well).
5. Binding
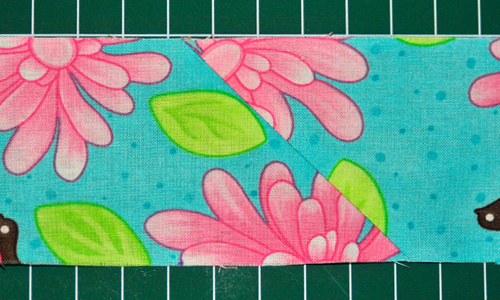
Binding can be cut on the straight grain of the fabric – you only have to cut it on the bias if you are binding curves or wavy edges. However, when making continuous binding, sew your pieces together on the bias (i.e. a 45 degree angle), not perpendicular.
It makes your binding less bulky. If you are using a 2 1/2 inch binding strip, cut the excess batting off 1cm from the stitching line. This will give you the right amount to fill the binding when folding it over to the back to hand stitch it down.
(Click here to learn ‘How to join fabric strips on the bias’)

2 Responses
Great tips, very clearly explained. Very helpful to a complete novice like me. Love for you to explain how to put in an invisible zip. Totally confused how to finish off on zips
Simply wish to say your article is as astounding.
The clarity on your put up is just excellent and i could
suppose you’re a professional in this subject. Well along with your permission let me to clutch your RSS feed to keep up to date with imminent post.
Thanks one million and please continue the enjoyable work.